Search This Blog

Radio Guy Tees

Radio Guy Tees
Radio Guy T-Shirts
Showing posts with label Mast installation. Show all posts

Friday, 6 December 2013

Wow - that's Windy!

Well,

We had quite a storm in the UK yesterday; luckily I wasn't at home to witness it else I would have been in a real panic I would imagine! Anyhow, the winds were extreme to say the least and this morning I look up at the main antenna and I see this:


The top of the mast is at a definite angle compared to the rest of it, so I turned the antenna to the West - this is the direction I point it when I want to tip it over - looking up again once it was turned that way and everything looked fine! Hmmm, something not so clever here. I started to drop the tower and the antennas all started turning as gravity wanted them to. It seemed that the stub mast to the rotator from the main mast was no longer attached to the square section at all!

Here's what I found when I brought the tower down:


So the three bolts I used as part of the re-engineered top of the tower from back here:

http://g0mgx.blogspot.co.uk/2012/08/changes-at-top.html

have snapped clean off. The power of the wind is amazing.

So I've put it back together with some suitable modifications; hopefully this won't happen again.

Scary, egh?

Friday, 3 May 2013

Movements are afoot.... It's all go you know...

Well,

Been fiddling with antennas a bit whilst home this time, I've moved the 4M antenna from the side of the house and put it on top of the HF antenna on the main tower.

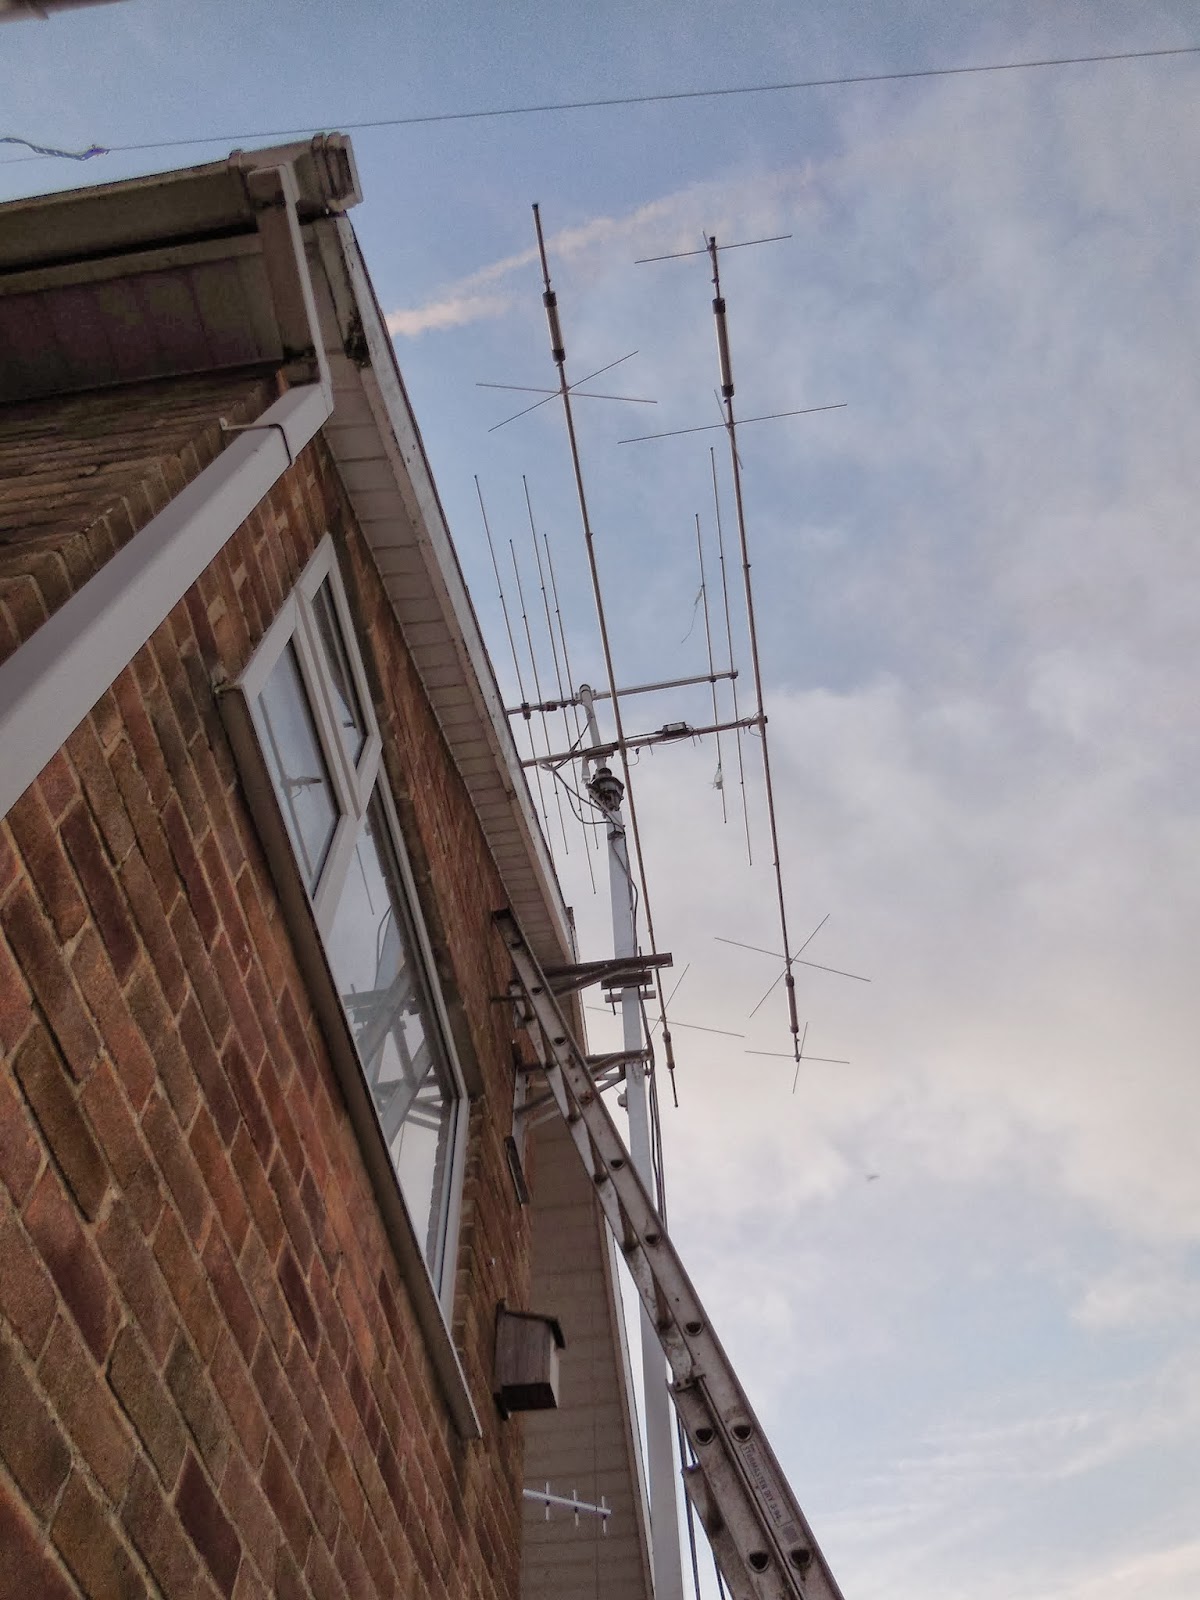
Here's a picture from "Antenna Cam" at dawn this morning:


and here's one from just a bit later on:


You should be able to see that the 4M beam is now sat happily on the top of the tower. Inspired by the site of Brian, G0MJI:

http://www.qsl.net/g0mji/

I've set up a WSPR beacon on 4M.... time will tell but it sounds like a lonely kind of activity to me....

I've also been fiddling with Ham Radio Deluxe (HRD), my internet router, the FT-5000 and various other bits and bobs to try and see if I can control (and operate) the Yaesu FT-5000 radio remotely (read from A71 land).

So, HRD runs on the shack PC, this communicates with the radio over the conventional Yaesu CAT interface. As is well documented the modern radios allow control of just about everything via this interface.

Now, you then set HRD running in remote mode and then run the client application on the remote PC (in my case this is a laptop). With a bit of fiddling and a port open on the router I can now control the FT-5000 remotely, this is what HRD looks like on the client PC:


So this will be something interesting I can fiddle with next time I am away from home. I've also set up a remote desktop access to my shack PC so in theory, I should be able to connect and run RTTY via logger as if I was sat here.... shouldn't I?

You might remember an episode of "extreme soldering" from quite a while ago:

http://g0mgx.blogspot.co.uk/2011/10/its-done-well-extreme-soldering-is.html

Well, I've been fiddling with this SDR again, It's really quite good fun, here's a screen grab from the Software, my waterfall is a little too intense, but you get the idea:


Fun, egh?

Friday, 17 August 2012

Changes at the Top!

Well,

I've not been overly happy with the arrangement to adapt from the top section of my new mast (which is 2" OD box section aluminium) to the 2" OD pole that holds the rotator. This was originally a aluminium plate that had "U" bolts for the pole and some nuts and bolts that fitted through the plate and then through one wall of the top mast section. When the wind picked up there was the risk of:

  1. The whole thing folding back on itself;
  2. The plate twisting.
You can see the original plate in this picture here:


Now, as I was concerned about this before the changes today, I had actually inserted a smaller diameter pole inside the rotator pole which was secured by a bolt that passes right through the rotator clamp. This smaller pole extends through the top rotator stub mast down into the top section box part of the mast itself. This (I was certain) would ensure that the plate didn't fold back on itself in high winds.

So, what I have done today is use a piece of 3" OD aluminium box section to create a kind of sleeve that sits over the rotator stub mast and the top section of the mast itself, this sketch kind of explains what I've made:

And it looks like this in reality:


And this is a close up of the top section of the mast itself where it enters the new sleeve:


And here you can see how I have made larger (looks like using my teeth) holes in one of the walls of the sleeve to access the bolt heads to ensure the pole and the mast top are hard and fast against the side wall:


and this is the underside of the same bolt:


So, all in all, I think this will enable me to sleep better knowing that the antenna isn't about to land on the back of the house!

What do you recon, better egh? Cat's not impressed, seems to like the new radio though:

Saturday, 4 August 2012

It's now Official; I am completely nuts

Well, following a recent street party to celebrate the Queen's Jubilee; a discussion with my neighbours about antennas ensued. The conclusion was that whilst they are somewhat intrigued over what they are for (one neighbour thinks I am a spy), they are not "bothered" by them in the slightest.....

This got me thinking....

The past two days have been spent making some changes here to the antennas; so the first job was to bring down the main HF antenna. If you have been following this blog you may remember the last time this came down, it involved bailing twine and some knots, the details are here:

http://g0mgx.blogspot.co.uk/2011/11/so-how-can-it-possibly-go-wrong.html

So we tried the same trick again (with the ever patient Vince, G0ORC):


Remove the U-bolts holding the mast to the T and K brackets... then start to tip and let the bailing twine out slowly...


And a bit more....


So here is the antenna on the floor:


So now I needed to remove the pole(s) and the T & K brackets holding it all against the house. Once this was complete I could install the new mast. I got this mast from Gary, MM0CUG he's custom made it for me.

The first job was to unpack the box of bits:


The I had to fit a new top bracket and drop a plumb line:


Then I had to mount the base bracket and line it up with the top bracket and plumb line. I cheated a bit here and actually used the mast itself to line the two parts up:


This is the bottom bracket, not securely fixed yet - just look at the brick dust:


So once the mast was in place OK, I then needed to build the new antenna - it's an MA5B from Cushcraft, here are the elements beginning to be assembled:


And the new rotator and boom on the top of the mast whilst tilted over:


Here is the first element on the boom:

And then the whole thing up in the air:


What do you recon? Insane, hugh?