Search This Blog

Radio Guy Tees

Radio Guy Tees
Radio Guy T-Shirts
Showing posts with label return loss bridge. Show all posts

Monday, 15 May 2017

A tracking what?

Well,

As part of the fiddling I've been doing on 13cm, I've been using the new to me (read old) spectrum analyser I have. It covers from about 9KHz up to 22GHz.

You may also recall not so long ago, that I made a signal generator that covered up to 4.4 GHz.

As this spectrum analyser has a 1st IF output socket, it struck me that I could probably make some kind of tracking generator to go with it. Actually the IF output will be doing the tracking, all I need is a signal and a mixer.

Some experimentation allowed me to discover that on the low range, the Spectrum Analyser has an IF output of 3910.7 MHz plus the tuned frequency.

I've made myself a simple Arduino Nano and AD4351 combination:


The source code for the above is here. I've not done anything clever at all, just used the Analogue Devices software I showed here to calculate the required registry values and then hard coded them into the Nano.

That gives me the 3910.7 MHz signal required. We then subtract that from the IF output from the Spectrum Analyser using a simple and small Mini Circuits mixer:


Then I've added a low cost return loss bridge from ebay:


Whilst it's not lab grade, in this example you can clearly see the resonant frequency of the antenna that's connected as the Device Under Test:


The difference between the trace with the DUT socket open (the thicker line) and the other trace is the return loss at the specific frequency.

You can see that the open circuit sweep is nowhere near flat - so there are all sorts of issues with this setup, but as a basic antenna analyser up to about 3GHz this works just fine.

All the while, Florrie the ham cat has been sitting on my rotator manual which I am consulting as the display bulb has died:


Local conditions.

Saturday, 4 January 2014

A disk-what? Ah, a Discone!

Well,

Today has been a day of antenna fiddling. The first thing I did was put up a Discone antenna on the front of the house:


This is supposed to be a general coverage receive antenna from 25MHz to over 1.3GHz plus it is resonant for transmit on the Amateur 6M, 2M, 70cm and 23cm bands.

Here's what it looks like connected to the return loss bridge and Spectrum Analyser:


The markers at the bottom of the image above show the resonant points we are interested in and it does indeed seem to be a reasonable match to 50R at those frequencies (as is a 50R resistor, of course). How good an antenna it is remains to be seen. I am hoping this will hear more of LEO satellites than the collinear I have.

We have had some more really bad weather over the last few days and very much by luck I found a broken jubilee clip (Read hose clamp) in the garden yesterday. Looking up I could see it was off the 4M and 6M beam antenna I installed back here:

http://g0mgx.blogspot.co.uk/2013/05/thatll-never-work-will-it.html

So I have had the antennas down again today, it's surprising how big my "mini beam" is when it's on the ground:


You can see that I have to remove the outer parts of the one element to get it past the fence next to the raised border in the garden! But I have replaced the clip and also altered the resonant point of the 4M section to be exactly at the Meteor Scatter frequency of 70.110MHz.

After adjustment the "dip" is now ~70.12MHz with a return loss of > 32dB ; the SWR at 70.11 (my target) is 1.05:1 and across the band is no more than 1.7:1.


and at 50.23MHz the SWR is a respectable 1.2:1:


Looks pretty damn fine to me!

Cat's been next to useless:


Fun, egh?

Saturday, 21 December 2013

More Mixing to 4M

Well,

Been fiddling some more in the shack today with the 70MHz linear amplifier that I am building. The first total screw up was that I need to make an input attenuator so I can drive with a 10W ish input signal and reduce it to about 2W to the amplifier module.

I used an on-line attenuator calculator to design the pad and purchased some suitably power rated components for the job. I soldered it together and then measured the attenuation with the Spectrum Analyser, here with a single fixed frequency output from the tracking generator:


Now, this looked very much like it was about a mile from my target value of attenuation of 7dB and I seen to have more like 20dB at 70MHz. This didn't make much sense.

So I stuck it on my return loss bridge I made back here:

http://g0mgx.blogspot.co.uk/2013/09/so-whats-happened-to-bridge-then.html

to see what the input match to 50R was. Here's what I saw:


Now, this is telling me that at 50R impedance the input SWR to my attenuator at 70MHz is 23:1 (ish) i.e. a complete load of dingos kidneys.

If I just connect a 20dB attenuator (much lower power rated) I made a while ago, I see this:


This one was only really built with HF In mind, but still the SWR at 70MHz is a respectable 1.2:1.

So - why is this attenuator I have made so pants? I now realise that the resistors I bought to make the attenuator are wire-wound rather than carbon. So we have buckets of inductance as well as resistance. That just won't do at all!

Whilst I was messing about with the attenuator I decided it would be a good idea to box the 70MHz TX converter I started to make here:

http://g0mgx.blogspot.co.uk/2012/07/mixing-better-than-before-70mhz.html

and then revisited recently here:

http://g0mgx.blogspot.co.uk/2013/12/testing-times-for-my-linear-project.html

Well, I made an output amplifier for it to raise the output level a bit and have boxed it with it's own PSU:


Clearly this should be built into a metal case but I only have this plastic one which will have to do. I must be aware of external RF when I am using it that may make the output wobble somewhat:


The output looks OK on the scope:


but if I were to use this as a TX converter and put the signal on-air I clearly need another low pass filter post the output amplifier I added as the harmonics are quite high:


So, another box for the shelf and a failed attenuator build.

You win some, you lose some.

Friday, 4 October 2013

So, lets get a bit smarter

Well,

Been rummaging some more in the shack today and have decided to make a variable attenuator. This is in addition to the fixed attenuators I made here:

http://g0mgx.blogspot.co.uk/2012/11/calibration-complete.html

and the switch attenuator I made more recently here:

http://g0mgx.blogspot.co.uk/2013/09/time-time-time.html

Why? Because I would like to be able to set the output of my newly constructed signal generator from here:

http://g0mgx.blogspot.co.uk/2013/10/so-hows-sig-gen.html

to be exactly 0dBm, how will I be able to set it so accurately? Using the dBm meter I made back here:

http://g0mgx.blogspot.co.uk/2013/01/calibration-finaly-complete-really.html

So, that's the background, here's the variable attenuator:


And now with it attached to a fixed attenuator at the input:


There are two switched input attenuators in this variable thingamabob, lets call them A and B these are then followed by a variable pad to the output port, so, if I connect my new signal generator to the input and my dBm meter to the output I can try and assess what the attenuation of the two fixed pads and also the variable pads are:


and then if I "do the math" and calculate the raw attenuation rather then the power readings:


So it looks like my switch position A is giving me 3.3 dB attenuation and position B is giving me 10.9 (I was aiming for 4 and 10). When combined with the variable pad I am getting 3.3dB to 29dB attenuation in switch position A and 10.9dB to 36dB in switch position B - the fact that the ranges overlap is good enough for me.

Now, for the sake of it I am going  to now look at the return loss of the input and output of this filter, primarily because I am aiming for an impedance of 50R and it will be interesting to see how close to this design goal I have achieved across the HF spectrum.

So, using my return loss bridge from here:

http://g0mgx.blogspot.co.uk/2013/09/so-whats-happened-to-bridge-then.html

I can sweep the HP spectrum and see what the return loss is, firstly lets try the 30dB attenuator I have here:


Now, In the image above, you can see three traces. The purple trace is the normalised return loss of the bridge in a completely unbalanced state i.e. open circuit. The yellow is the return loss with the device under test connected (in my case a port of the 30dB attenuator), and the green is the maths calculated as the delta between the two i.e. the difference between the open bridge and the bridge with the device connected. The table at the bottom then shows the application of the maths to calculate the return loss and VSWR.

So we can see that at 10MHz my 30dB attenuator has a return loss of 33dB which is as close to maximum bananas as makes no odds - thats a VSWR of very close to 1:1. As the frequency increases you can see that the return loss decreases which in turn means that the VSWR increases. At 40MHz the return loss has reduced to 25dB which is a VSWR of 1.1:1. All in all though this attenuator is an excellent match to 50R.

Now, here's the same trace but with the input port of the variable attenuator connected in switch position A:


And now in switch position B:


Interestingly the return loss is flat across the spectrum, but not such a close match to 50R and hence the VSWR is higher. This probably means that the variable attenuator on the output side of the pad is affecting the input impedance and hence the input pad should probably be of a greater attenuation value; the downside of this would be that the device would have a much larger starting attenuation value and therefore not meet my design goal!

Here's the new ham cat Florrie, she seems to be learning from Geddy Cat to assist very well:


Good, egh?

Sunday, 29 September 2013

Time, Time, Time

Well

I've been busy, busy, busy with work - spent two weeks trundling around Qatar and the United Arab Emirates and then a full week in Sri Lanka. Got off the Aeroplane in Manchester and headed straight for the National Hamfest where I spent two days in my official capacity as "RSGB Guy".

Finally I am home.

This weekend was the CQ WW RTTY Contest; which means it is a year since I got my linear:

http://g0mgx.blogspot.co.uk/2012/09/how-much-power.html

Last year I spent quite a bit of time playing in the contest, this year sadly only a few hours. Here, however, is my log converted to map format:


So despite the lack of time, there are a few good contacts in there.

Before I went away I ordered a step attenuator kit from QRP Kits:

http://www.qrpkits.com/

I have to say that the stuff I have ordered from them in the past has been first class; this is no exception. The metalwork for this project is particularly excellent quality:


So that's built and will be a very handy addition to the shack.

You may also recall my musings with Return Loss Bridges back here:

http://g0mgx.blogspot.co.uk/2013/09/return-loss-bridge-where-does-it-lead.html

And you may also recall that I sometimes bounce ideas off Kerry, VK2TIL (who is perhaps the worlds greatest homebrewer). So some correspondence with Kerry has resulted in some ideas to improve directivity by using a different type of balun and construction method. I am aiming to replicate something like this:


So at the HamFest I found some suitable binocular cores and have made this:


So, I now need to couple this up to some BNC connectors and take some measurements.

I have a full week off before returning to A71 land; my plan is for real time, fun time and perhaps sausage time.

Fun, egh?

Thursday, 5 September 2013

So what can you do with this bridge?

Well,

Now I've got what I think is a reasonable Return Loss Bridge - what can I do with it?

Lets take a very simple example, we have already noted previously that you calculate the Return Loss by:

where:

Open = Peak to Peak voltage with no connection to the "?" port
DUT = Peak to Peak voltage with the Device Under Test connected to the "?" port

So if we were measuring the output with an oscilloscope we would use that equation to calculate the difference in dBm. However, as I have a Spectrum Analyser that reads directly in dBm, in this example I'll cut some corners.

So, initially I have the Spectrum Analyser and the RLB set up like this:

To start with I have the "?" Open and my Spectrum Analyser, at my selected test frequency of 7.1 MHz sees this:


So at 7.1 MHz we have a signal from the Tracking Generator of -31.67dBm. Now, lets couple up the Carolina Windom I made here:

http://g0mgx.blogspot.co.uk/2013/08/so-who-is-caroline-ah-carolina-windom.html

to the "?" port. Now the Spectrum Analyser can see this:


So now, at 7.1 MHz we have a signal strength of -42.74 dBm - that's a difference of 11.07 dBm.

If we now use this equation to calculate the VSWR:

and plugging in the results:

we can calculate that the VSWR is 1.78.

Now, what does my newfangled Antenna Analyser thingamabob think the VSWR is at 7.1 MHz


the RLB works, doesn't it?

Wednesday, 4 September 2013

Where does it lead? A bridge to nowhere!

Well,

Following my initial attempts at making a Return Loss Bridge (RLB) last time:

http://g0mgx.blogspot.co.uk/2013/09/return-loss-bridge-where-does-it-lead.html

I've taken some advice; the most common suggestion was that my construction was too slap dash! Could do better and must try harder - reminds me of my school reports!

Here's a remade version of the RLB in quite high-res:


Now this is much neater, however, the basic problem is going to be (so I'm being told) that the wires and the box create a feedline - my construction makes that feedline a load of pants....

Now, I then tried to make an alternative RLB using more normal type of construction techniques:


And that has a slightly worse directivity reading to the one in the box!

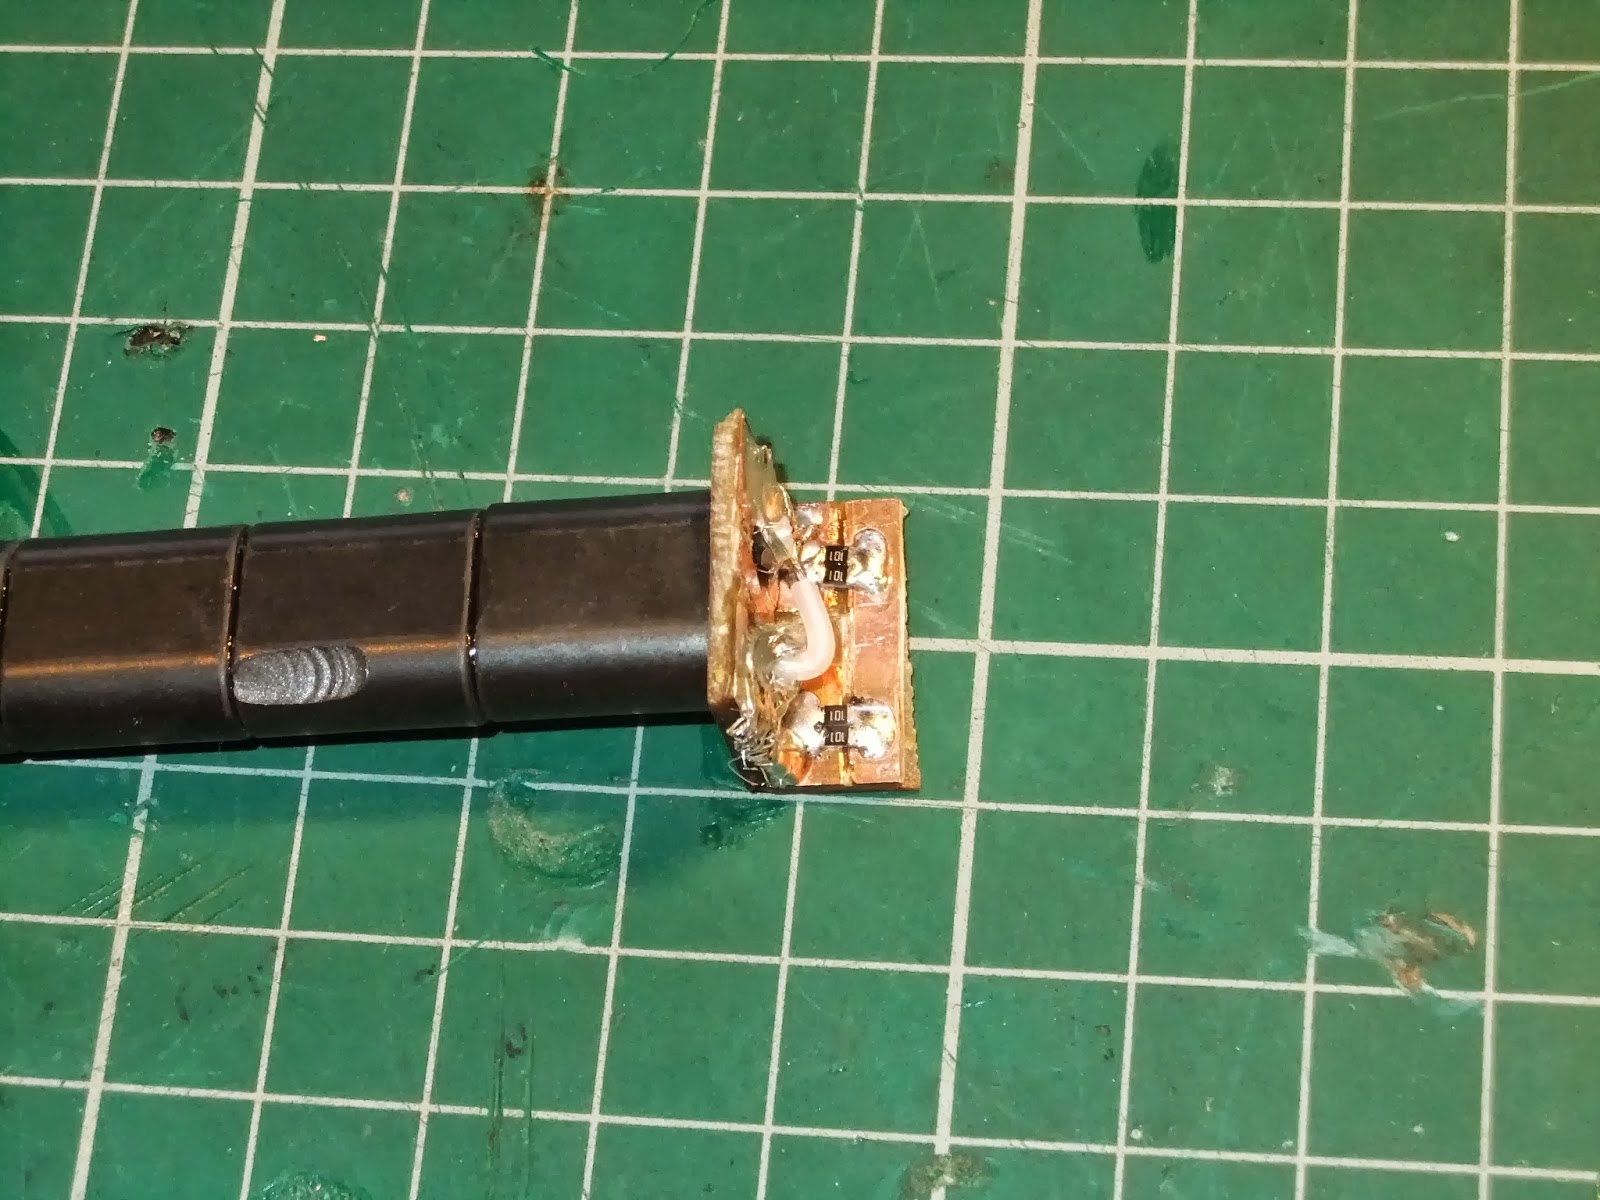
So, then I followed another suggestion and constructed an RLB using SMD resistors and this one looks like this:


The observant amongst you will see that the resistors are in fact 52R3 (thats 52 point 3 ohms); these were left over from the power meter project back here:

http://g0mgx.blogspot.co.uk/2012/11/the-power-is-with-me.html

This newly made RLB when boxed measures at 26.3 dB directivity - so this is an improvement and much closer to my target value of 30 dB.


I then decided to rummage further and I found some 100R SMD resistors, and made a third (forth?) RLB using 2 100R resistors in parallel for each 50R theoretical component:


Now this version of the RLB measures as 23dB directivity - so just the same as the first one! Bah - I'll stick with the version containing the 52R3 components for now....

New ham cat's not been helping much:


Fun, egh?

Return Loss Bridge - Where does it lead?

Well,

More fiddling today and I have been making a return loss bridge to help with my "RF Workbench" measurements.

A RLB (Return Loss Bridge) is a device that will help me understand how close to a desired target impedance of 50R things are. And by things I mean kind of anything really, an amplifier, a dummy load, an antenna, a rubber plant - anything. That last item isn't necessarily true - I am just checking you are paying attention.

What a RLB does is allow you to measure the difference between the input power and the power reflected as a result of an impedance miss-match. So the higher the return loss the better the impedance match (unlike SWR where lower numbers indicate a better match).

Here's a simple schematic of an RLB that I have stolen:


So, I've made mine using 2 x 100R resistors in parallel for each of R1, R2 and R3 and the transformer T is wound with 10 turns bifilar on a FT37-43:


Now, to calculate the bridge directivity, firstly you would connect a 50R output signal generator at the test frequency to the "RF" port and a 50R terminated 'scope at the "Detector" port. Once this is set up we need to measure the peak-to-peak voltage reading on the 'scope. In my case I set this up for 7MHz and read a value of 57 mV with the "?" port open circuit. If I now connect a 50R load to the "?" port and take the reading again, I get a value of 3.7 mV. This tells me that the directivity of the bridge is:

20 LOG (57 / 3.7) = 23 dB (ish)

Now, that's a bit pants! I was hoping for at least 30dB. THe first thing I tried was changing the toroid in the transformer "T" - I remade it using a FT37-50 with 10 bifilar turns:


This change hasn't made any difference at all!

The theory of operation is that you would set your signal generator to the frequency required and then first measure the detector reading with the "?" port open and then repeat the measurement with the device under test connected to the "?" port like this:

But given that my RLB only has a directivity of 23 dB ish I think I need to make some improvements. This should turn out to be a useful addition to the shack however, and in my quest to learn more and more about RF measurement, impedance and the like - this has been a good experiment!

Odd, Egh?